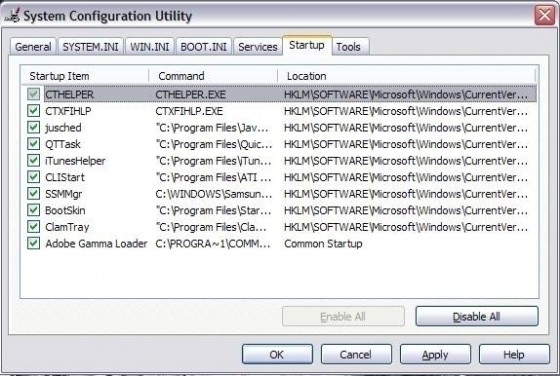
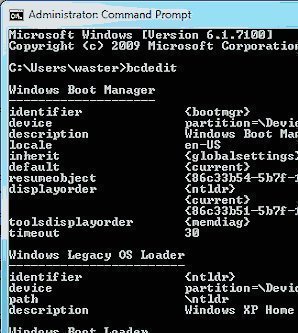
As a Windows computer ages, the number of third party applications that users download increases. Many of these programs automatically configure themselves to be opened when Windows starts eating away at the resources available for the computer to perform routine tasks. This can significantly slow overall computer speed. Users can mitigate this problem by changing the Windows startup options to only include the applications that they really need started every time they reboot the Windows computer. The startup program listing can be modified with the System Configuration utility or by manually opening the program through the MSCONFIG application available through the MS DOS command prompt.
How to Change Windows Startup Options
Step 1 – Start the computer normally. Press the “CTRL,” “Alt,” and “Delete” keys simultaneously to load the Windows Task Manager.
Step 2 – Choose the “Processes” menu tab to display the active computer processes on the computer.
Step 3 – Note any Windows Processes for third-party applications that were downloaded and are running in the background but are not actively being used. These are the programs that users should primarily focus on removing from the Windows Startup dialog.
Step 4 – Select the “Start” menu, enter “msconfig” in the search text field, then press “Enter” to open the System Configuration utility program. The application can also be opened from the Windows Control Panel.
Step 5 – Choose the “Startup” menu tab located under the “General” section of the System Configuration utility.
Step 6 – Uncheck the check boxes next to the applications that will not be loaded when the Windows Operating System (OS) is next booted.
Step 7 – Choose the “Services” menu tab and de-select any processes that are not under the “Startup” options.
Step 8 – Click “Close” when program removal from the Windows startup is complete.
Step 9 – Restart the computer to complete removing programs from the Windows Startup menu.


Follow Us!