In order to make a great looking pencil sketch out of a photo, skill and free time are needed to render it by hand or users can take advantage of a tool such as Adobe Photoshop to do the time consuming work in only minutes. Converting a photo into a pencil sketch can be accomplished in just a few steps.
First, load the photo into Adobe Photoshop. For this example, a photo of an obsolete camera on a bed sheet will be used.
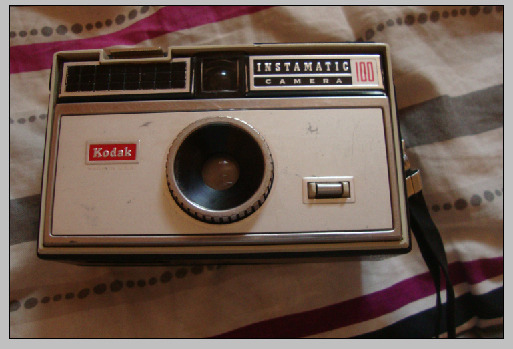
This photo is a random example of a “still life” scene. What the viewer cannot tell about this example photo is the image’s actual resolution. The image is 2956 pixels wide by 1988 pixels tall (Cropped from 3264×2448 – 8 megapixels).
The next step is to de-saturate the photo so all of the color information is removed (looks like a black and white image). To do this, select the “Image” tab then go under “Adjustments” and select the “Desaturate” option. The photo will then become “grayscale.”
Alternatively, use the keyboard shortcut “Shift key + Ctrl key + U,” which will de-saturate the image without having to pull up the drop down menus from the tab.
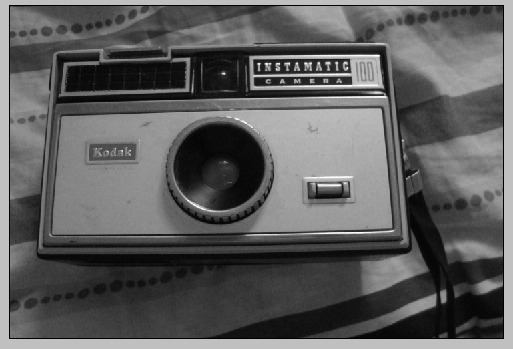
The next step is to duplicate the layer by right clicking the “Background” layer in the “Layers” window then selecting “Duplicate Layer.” This creates a new layer labeled “Background copy.” Make sure that the “Background copy” layer is selected then invert the colors of the layer.
To do this, select the “Image” tab then go under “Adjustments” and select the “Invert” option. The photo will then become “inverted.”
Alternatively, use the keyboard shortcut “Ctrl key + I,” which will invert the image without having to pull up the drop down menus from the tab.
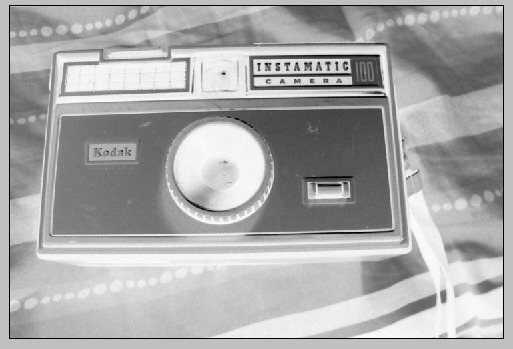
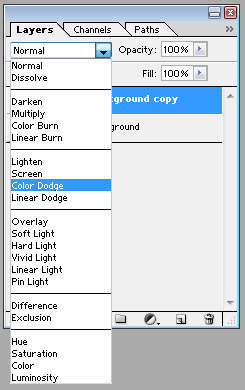
Change the blend mode of the “Background copy” layer to “Color Dodge.” To accomplish this, select the drop down box with the word “Normal” in it while the “Background copy” layer is selected and choose the “Color Dodge” option from the list.
Normally, photos that will get the best results will become nearly completely white with this step.
It is common for black patches to appear at this step. This means that these sections of the image do not have enough data to actually cancel out with the color dodge step and is usually fine for the image.
Apply a Gaussian Blur to the “Background copy” layer. To accomplish this, click the “Filter” tab and select “Blur” then “Gaussian Blur…” from the drop down list. A window for the Gaussian Blur filter will be presented.
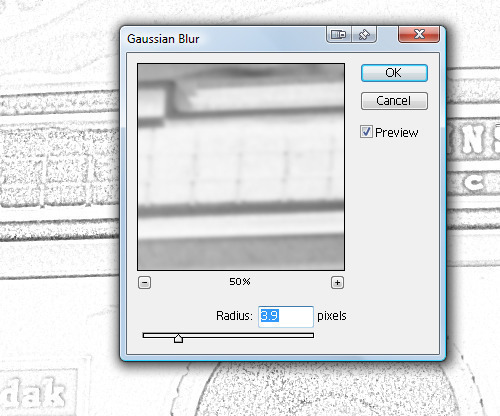
Select the “Preview” box so that a preview of the photo is displayed as the value is changed with the text field or the built in slider. The levels that are useful for large images are within 3-5 pixels for the radius. Use a lower number for smaller images (but experiment anyway). The example image also shows the preview window aligned with the photo in the background to show contrast between what is actually happening and what is occurring with the live preview.
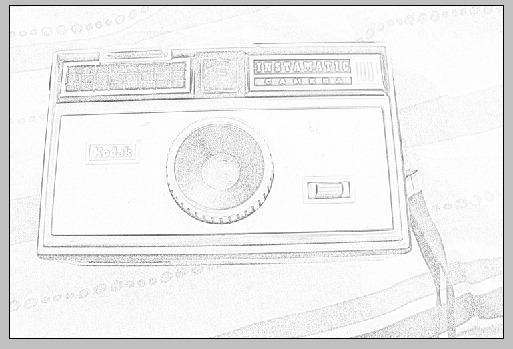
This is the result once the Gaussian Blur is finished with. Note that the image is rather light. Merge the layers into a single layer image. To accomplish this, select the “Layer” tab then select either the “Merge Down” or “Flatten Image” option.
Alternatively, use the keyboard shortcut “Ctrl key + E” to merge the selected layer down to the layer beneath it. Now there should be a single image.
Adjust the Brightness and Contrast levels to enhance the sketch effect. Select the “Image” tab then choose the “Adjustments” option to open the drop down menu. Choose the “Brightness/Contrast…” option, which will open up the Brightness/Contrast window. Slide the “Brightness” slider down a fair amount (-30 was used here). Users can also type in “-30” into the first text field to do this. With the “Contrast” slider, users can go up generously to increase the contrast pitch for the image and to give it a well defined darkness boost (70 was used here). Users can also type “70” into the second text field. Select “OK” when finished with the image.
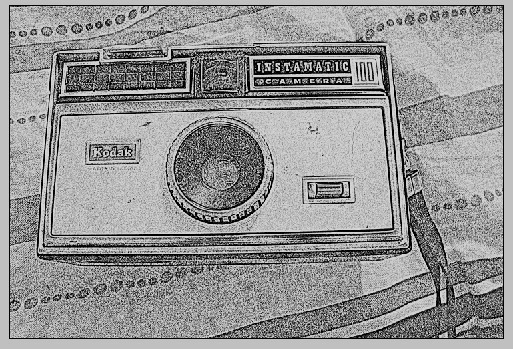
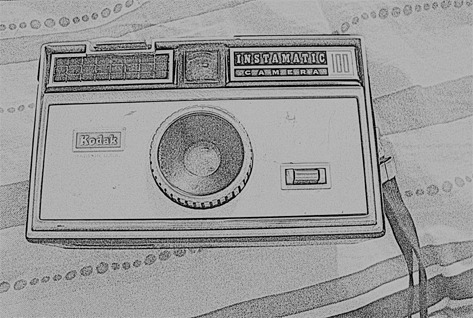
This is the result of the camera image as a digitally rendered sketch (screenshot at 16% pre-resizing). The image can actually be resized to get a smoother “sketch” feel with the size Image Size tool. Select the “Image” tab then “Image Size.” This will open up the Image size window. Make sure that the “Constrain Proportions” box and the “Resample Image” boxes are checked (with sampling set to “Bicubic”). Choose the drop down box on “Width” in “Pixel Dimensions” and choose “percent.” Replace the “100” with the proportionate percentage needed for the image. 16% was chosen as the determined size (which ended up being 473 pixels wide and 318 pixels tall). This is the resulting, finished (resized) image:
Tips For Greater Results:
The larger the image resolution, the more detail will be captured with the “sketch.”
Reduce the occurrence of blacks and whites in the image, they will not carry much visual information for the digital pencil drawing renders.
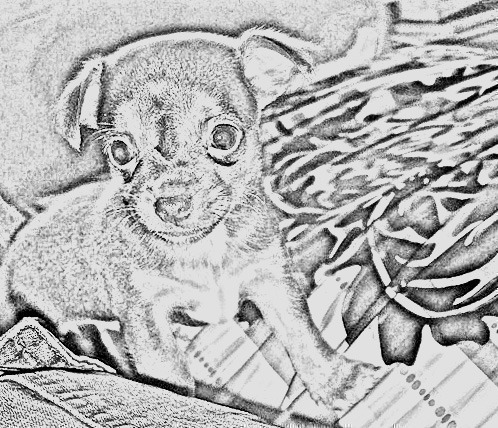
Avoid large patches of plain/solid colors, the more shadows and highlights are available, the sketchier the result will seem.
Large wrinkles in fabric help create textures in photos. Well illuminated/highlighted hair creates better textures
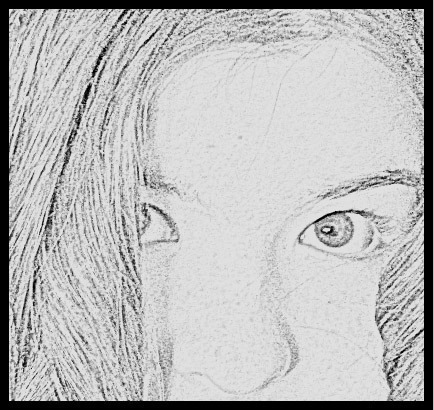
Experiment with the values that are used for the Gaussian Blur and Brightness/Contrast levels for each photo used to get a more optimum result with each photo.
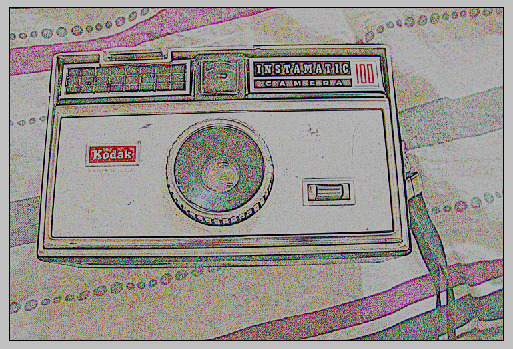
“Colored Pencil” results are possible by ignoring the step about de-saturating the image. The tutorial image is shown here with the “Colored Pencil” look:

Antione Droke
was about to quit browsing when I finally found your site! THX !